3 Steps For Capturing Emotional Depth In A Photograph
In today’s world, we see so many pictures of happy people. From social media to billboards, we are bombarded daily with images of smiling people. However, we all know that so much more is going on within each and every smiling person. An image of that person smiling is capturing just one moment in a very complex life. True photographers want to capture what is real. They want to tell a story with an image, and they want to convey emotion. How do great photographers capture and convey emotional depth? How is it that by looking at one portrait, we can seem to see the struggle in someone’s face, or feel that we understand the losses that they have overcome? How do images convey a mother’s nurturing love for her child, or a refugee’s ache for survival?
Emotional depth is captured by a photographer who takes these three necessary steps: Observe, Feel, and Connect.
Step 1: Observe
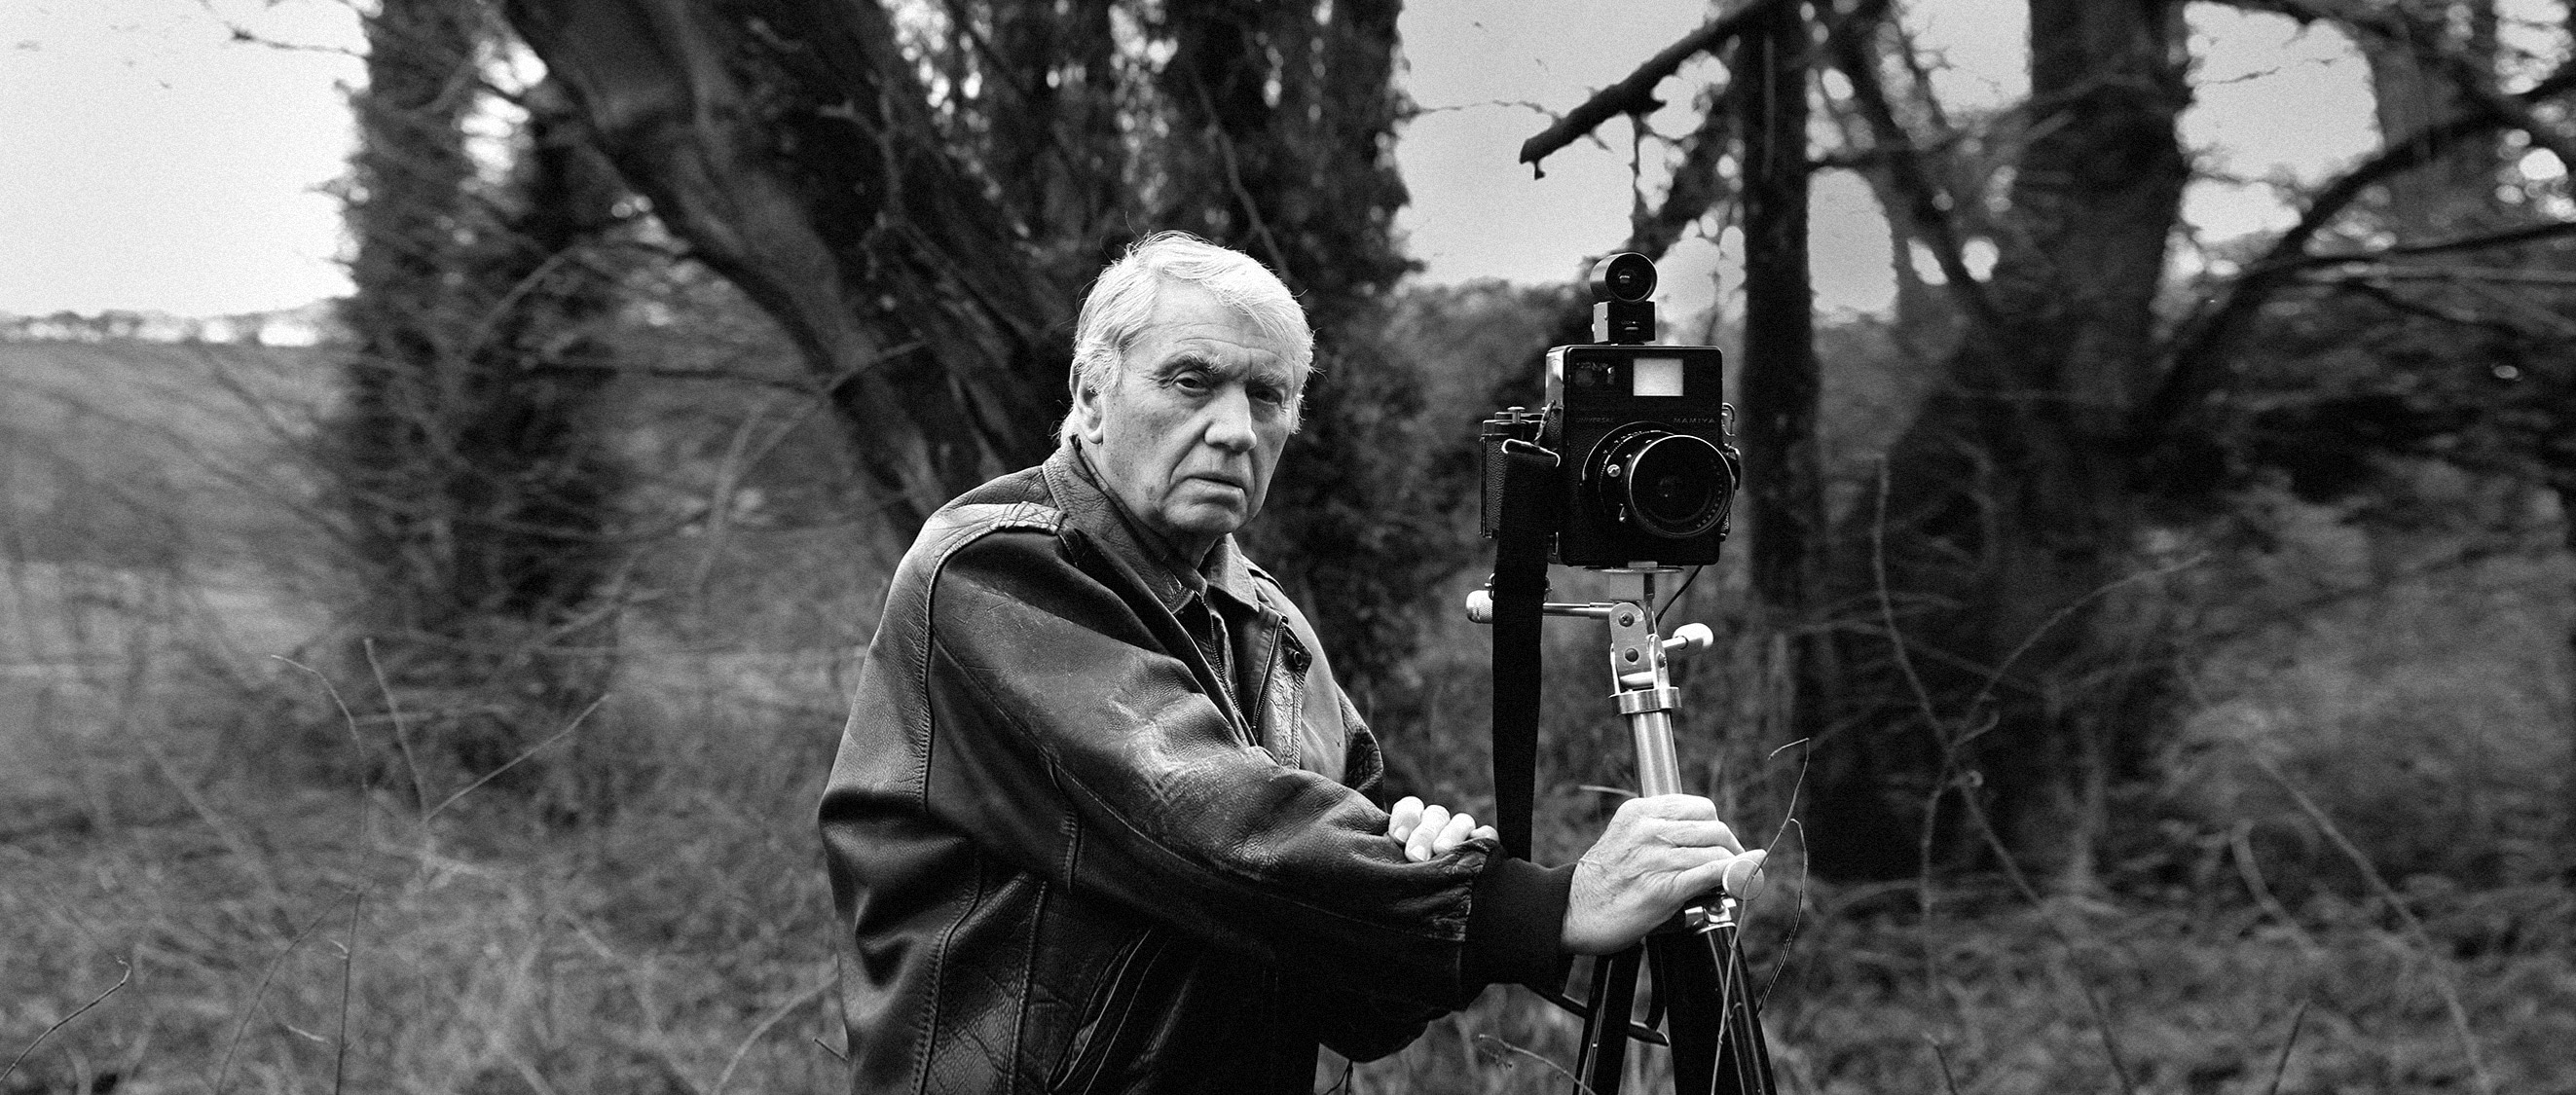
In order to capture a moment in which true emotion is displayed, the first step is to be in your location purely as an observer. This does not mean that you have to take candid photos only, although they will be a great source for emotionally raw photographs. Instead, it only means that you can not impress your personal energy and state of being on other people. Instead, you have to imagine that you are invisible and neutral. You have to watch them experiencing an emotion that is not controlled or directed by you, the photographer. Look through Richard Avedon’s portfolio in order to get an idea of how even a portrait photographer can capture raw vulnerability.
Step 2: Feel
Famous Photographer Don McCullin is famous for saying, “Photography for me is not looking, it’s feeling. If you can’t feel what you’re looking at, then you’re never going to get others to feel anything when they look at your pictures.” This means that you must dive into your own emotions in order to get deep images. An image that conveys emotion can be a shot of a person experiencing the emotion that you want to trigger in the viewer. Or, on the other hand, your image could be of an object that you find emotional. When you are in touch with your own emotions, you can see them reflected back to you in the outer world. A drifting sail boat, wilting flower, or grass poking up through concrete could convey to your viewer a specific feeling. If you can not go into the depths of your soul and find those feelings, you will not recognize when the world is reflecting them back to you.
Step 3: Connect
The last step is to connect. Once you know how to be a pure observer, and can access your own feelings so that you can recognize them in the outer world, next you must connect to your subject. There is magic that happens in the moment of connection. The famous photograph “Afghan Girl” taken in 1984 by Steve McCurry displays a moment of connection. The wide, frightened blue eyes of the girl have almost palpable energy in them, as if lasers are coming out of them. McCurry clearly connected with his subject, and so viewers can connect with the photograph.
With these three steps, you will notice that your photographs start to have much more emotional depth. The world doesn’t need more pictures of smiling people. Instead, we need help understanding the raw and vulnerable sides of human nature.
http://www.omnistartell.com